Building a playhouse is both rewarding and fun! If you have been dreaming of it for a while, you should definitely construct it, breathe a sigh of relief and sleep well. By the way, if you face with a sleep disorder, review remvital may be 100% helpful in this case.
Quick project guide
Hard labour – 5/10
Skill level – 5/10
The time needed – weekend project
Finished size ±1800 (H) x 1800 (W) x 1800 mm (D) Do it yourself for ±R4 165: (shutterply R2 400; poles R240; cement, stone, sand R300; pine R350; screws, hinges R120; glue R50; weather strip R55; primer, paint R650).
Project notes
• We used 2440 x 1220 x 18 mm treated pine shutter ply sheets for the construction of the structure.
• We used 44 x 22 mm pine for the window, door frames, and railings.
• We used 110 mm-diameter treated timber poles to create the ‘stilts’ on which our playhouse would rest.
• We added a door and shutters from the timber that was cut away to create these openings.
• We used grey roof paint on the roof and front walkway, and white on the exterior panels.
REMEMBER
Coat all surfaces of the timber to prevent warping and weather damage.
Tools
• drill
• 5mm drill bit, countersink drill bit
• tri-square
• jigsaw
• 10mm spanner
• mitre clamp
• pencil
• measuring tape
• mitre box and handsaw
Plus
• waterproof wood glue
• 16mm screws and 50mm chipboard screws
• T-hinges
• 100mm coach screws
• rubber weather strip
• 60-grit sandpaper
• primer and paint
• paintbrush or foam roller
Get started
1 Mark the outline of the floor panel on the ground and dig four 300mm diameter holes (about 500mm deep) about 300mm in from each corner. Position 800mm poles in the holes and fill them with sand, stone, and cement aggregate. Allow cement to set.
2 Fix the 96 x 32mm planks to the tops of the poles to create a framework for the floor. Add a brace midway along for additional support, then drill pilot holes (using 5mm drill bit) before fixing these to the poles with the coach screws.
3 Position the two (1800 x 900mm) panels on the framework and fix them in place around the edges.
4 Mark out the position of the windows and door opening and the angles for the roof pitch; use the jigsaw to cut these out. Then position two side panels at right angles and fix them together along the join and from below using the 50mm chipboard screws.
5 Now complete the house framework by fixing the remaining two wall panels in place. Note The 1300mm lengths should overlap the 1764mm sides.
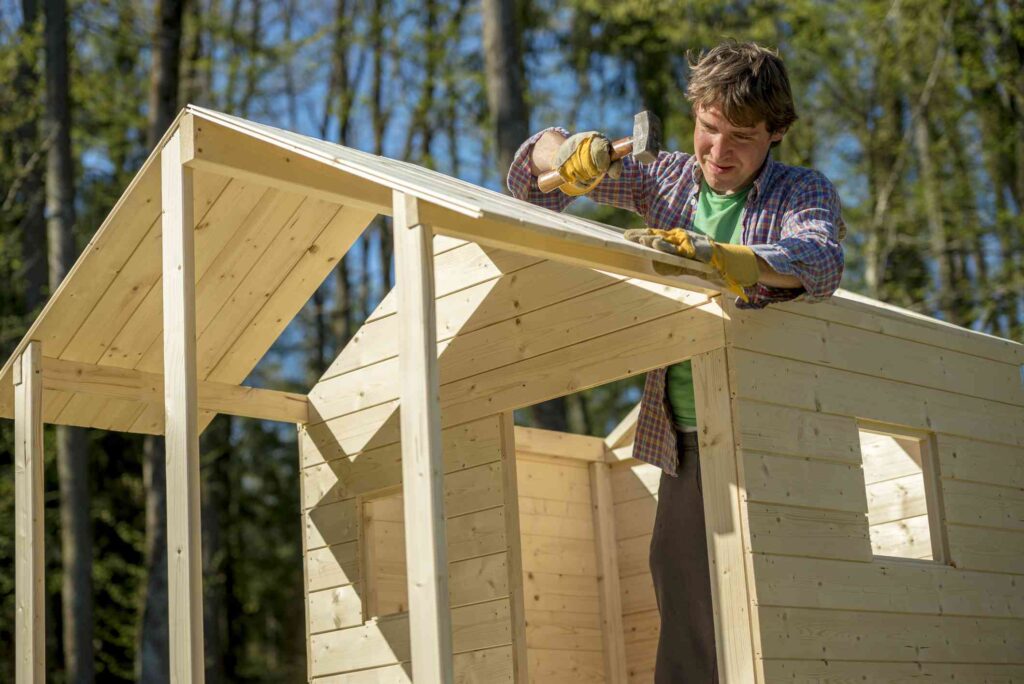
6 Position the roof panels and fix in place. TIP Apply waterproof wood glue to the top edges of the wall panels before fixing in place.
7 Construct the railing frame by fixing the five 356mm lengths between each end and at intervals along the 1800 x 44 x 22mm lengths. Then fix it to the front of the floor panel.
8 Make up the two sets of stairs by fixing the four stair treads at angles between the uprights, then fix these to the edges of the ‘porch’ in the same way as above.
9 Construct the window frames using the four 400mm and eight 356 x 44 x 22mm lengths. Construct the outer framework, then add the cross-shape to the inside before fixing the frame inside the opening. Construct the door frame in the same way.
10 Make the shutters by halving the pieces taken from the walls to create the window openings with a jigsaw; then add hinges and fix these to the window frames. Trim the door panel to fit within the new, framed opening, add hinges and fix it in place.
Use 16 mm screws to fix the rubber weather strip over the joint to cap the roof and prevent water from seeping through the gap.
We fixed edging all around the roof and added a coping above the door to prevent water from flowing in.
Fix the railing firmly in position along the front of the ‘porch’.
To create a door handle; we cut the length of the branch, added some bolts with washers as spacers, and fixed these to the door.
Get busy making the windows
1 Use the jigsaw to cut a 22 mm-wide slot midway along with each piece, as shown.
2 Overlap the 356mm length with the longer 400mm lengths to create the outer frame, then fix the inner frame in place.
3 Use 50 mm chipboard screws to fix the frames inside the openings. Then add hinges to the shutters and door, and fix the shutters to the window frames, right.